Skip to main content
Enter the terms you wish to search for.
(Optional)
My accounts
Main navigation
My accounts
Bins and recycling
Benefits and support
Births, deaths and ceremonies
Business information
Children and family services
Climate change
Council Tax
Crime and emergencies
e+ card
Elections and voting
Health and social care
Housing
Jobs
Leisure and events
Libraries
Parks and countryside
Planning and building control
Roads, parking and transport
Schools and learning
Street cleaning
The council and democracy
News
Contact us
Our Freedom: Then and Now
Equality, diversity and inclusion highlights 2024 to 2025
Home
Births, deaths and ceremonies
Ceremonies
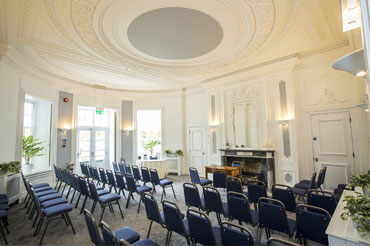
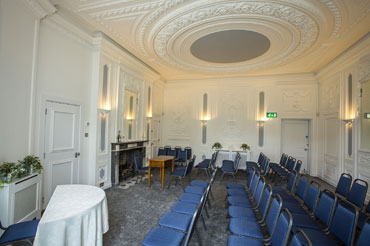
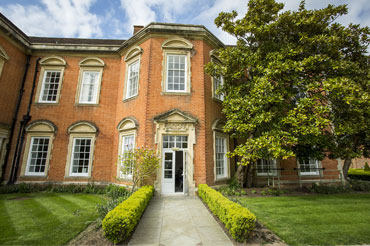
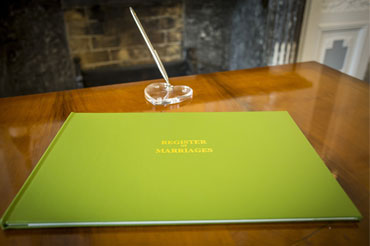
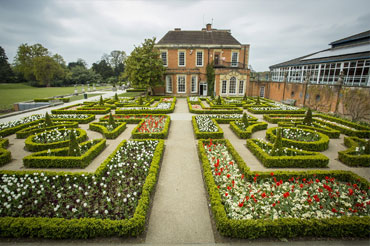
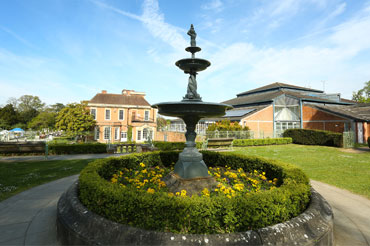
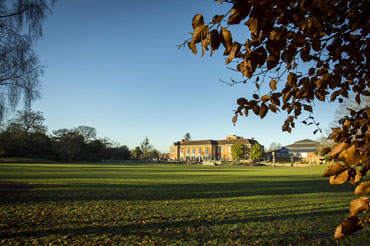
Ceremonies in The Haversham Room
The Haversham Room image gallery
The Haversham Room image gallery